Photos to take for a loft boarding quote
The four photos a loft installer needs to price boarding or a ladder without a visit, how to take each one safely, and what the installer looks for in it.
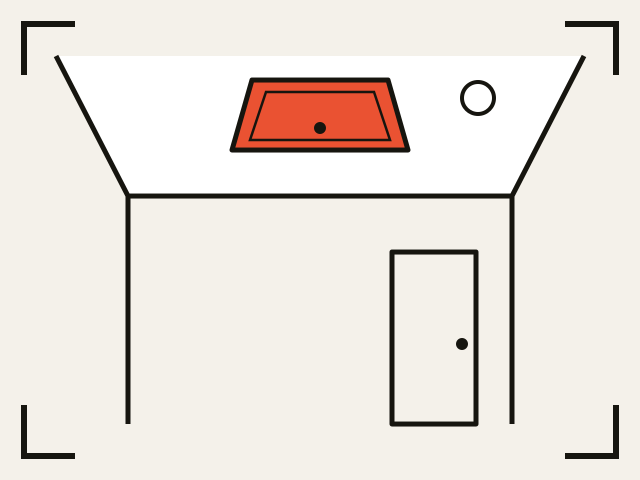
The hatch from below
Stand on the floor and take a photo of the hatch and the ceiling around it. If there's a ladder already, get that in too. Your installer uses it to check which ladder fits, and what's needed if the hatch has to be cut bigger.
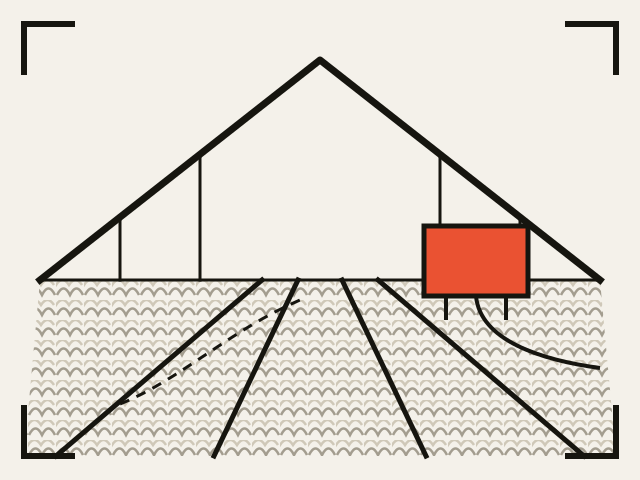
Inside the loft
With the ladder steady, stand on it with your head and shoulders through the hatch. Take a photo in each direction, up to four. Your installer looks at the joists, the insulation, the ventilation, and any cables or ceiling lights the boards have to work around.
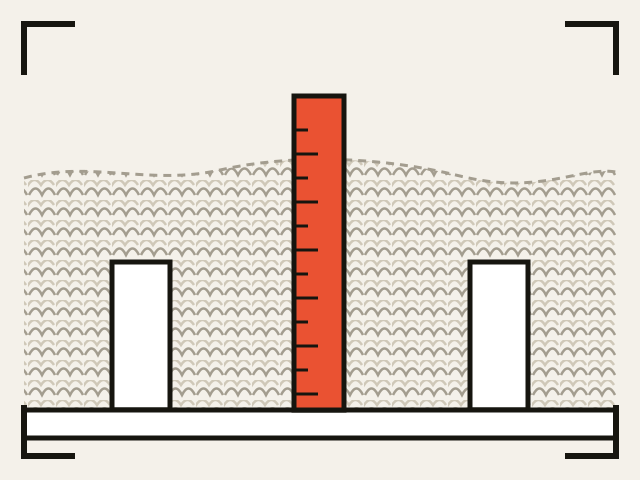
The insulation and a joist
A close photo of the floor beside the hatch, showing the insulation and the top of a joist. A tape measure stood upright in the insulation helps. This photo shows whether the boards need raising above the insulation.
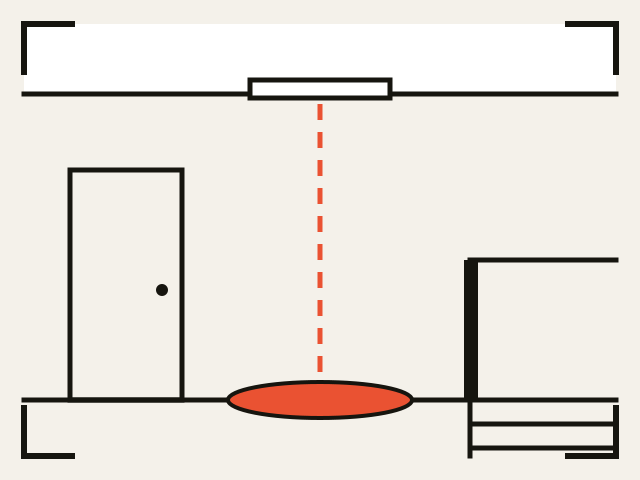
Where the ladder comes down
Stand back so the photo shows the floor under the hatch and the space around it, including any doors and the top of the stairs. Your installer checks the ladder has room to land.
Your answers give a price. The photos let a local installer confirm it without coming round to look. Four photos cover a loft, all taken from the floor or the ladder.
If you see any of these, say so
Some things mean a loft needs an installer to see it before it's priced. If one of your photos shows damp, mould or daylight through the roof, signs of bats, birds, wasps or mice, or loose granules between the joists, tell us when you order. We'll offer a free visit instead, and tell you why.
Bats and nesting birds are protected by law, so don't move anything if you think they're there.